You’ve had the experience. You hang up from an important call — a doctor walking you through a diagnosis, a contractor quoting a complex job, a client agreeing to specific terms — and realize ten minutes later that you’ve already lost half of what was said. You’d need to call back, ask for it in writing, or work from memory that you know will be incomplete by morning.
Or maybe the opposite: you’re mid-call with a customer service representative who finally says yes to something a previous representative denied, and you’re wishing you had documented proof of this conversation. Or you’re a student interviewing someone for a project, or a journalist capturing an on-the-record statement, or a parent who wants a clearer picture of what’s happening around their child’s phone.
Recording phone calls is one of those capabilities that seems simple in concept and proves surprisingly variable in practice. The process depends on your phone model, your operating system version, your country’s laws, and what level of audio quality you actually need. What works effortlessly on a Samsung Galaxy doesn’t exist as a feature on an older iPhone. What’s legal in California requires explicit consent from all parties, while most US states only require you to know the conversation is being recorded.
This guide navigates all of it. Five distinct recording methods are covered in depth — from the built-in call recording features available on most Android phones to Google Voice’s free incoming-call recording, from a second device used as an improvised recorder to dedicated hardware solutions and third-party apps. Each method comes with step-by-step instructions, honest assessment of audio quality and reliability, and clear guidance on when each approach makes most sense.
The legal section isn’t a footnote — it’s an essential part of understanding this topic, covered upfront so you can make informed decisions about how to record and whether to disclose before you ever tap a record button.

The Legal Reality of Call Recording: Read This First
Before exploring any recording method, understanding the legal framework around call recording is essential — because the method you choose and the disclosures you make (or don’t make) have legal implications that vary dramatically depending on where you and the person you’re calling are located.
One-Party Consent vs. All-Party Consent
The fundamental legal distinction in call recording law is between jurisdictions that require one-party consent and those requiring all-party consent (sometimes called two-party consent, though calls involving more than two people make “all-party” more accurate).
One-party consent means that only one participant in a conversation — typically you, the person recording — needs to be aware of the recording. You can record without telling the other person. This is the standard under US federal law (the Electronic Communications Privacy Act, or ECPA) and the law in most US states.
All-party consent means every participant must be informed and must consent before recording begins. Recording without this consent is a criminal offense in these jurisdictions. US states with all-party consent laws include:
- California
- Connecticut
- Delaware
- Florida
- Illinois
- Maryland
- Massachusetts
- Michigan
- Montana
- Nevada
- New Hampshire
- Oregon
- Pennsylvania
- Washington
The interstate complication: Even if you’re in a one-party consent state, if the person you’re calling is in an all-party consent state, their state’s law may apply to your conversation. The safest approach when calling across state lines is to assume all-party consent requirements apply and disclose accordingly.
Outside the US: Most countries have their own frameworks. In the European Union, GDPR treats call recording as personal data processing that generally requires a lawful basis — in practical terms, consent from all parties or a legitimate professional necessity. The UK has similar requirements under its data protection framework. Canada requires consent from all parties to a conversation under its federal Privacy Act.
For a comprehensive, state-by-state breakdown of US call recording laws, the Reporter’s Committee for Freedom of the Press maintains a recording law guide that’s useful for anyone recording in professional contexts.
Practical Guidance Regardless of Jurisdiction
The cleanest approach from both a legal and ethical standpoint is simple: tell the other person you’re recording. A statement like “I’d like to record this call for my records — is that okay?” takes five seconds, eliminates all legal ambiguity, and is generally accepted without objection in professional contexts.
Many apps (Google Voice being the clearest example) build this disclosure into the recording process automatically, playing a recorded announcement that notifies all parties. This is worth knowing when choosing a method.
Method 1: Built-In Call Recording on Android Phones
Which Android Phones Have It
The majority of Android smartphones from major manufacturers include a native call recording feature. This is the simplest and most audio-quality-reliable option when available, because it accesses the call audio directly at the system level rather than through a microphone.
Manufacturers with native call recording: Samsung, Xiaomi (MIUI), OPPO, Vivo, Motorola, LG, Infinix, Realme, Huawei, and ASUS all include call recording in their native Phone apps, though the specific implementation and UI varies by manufacturer and Android skin version.
Manufacturers without native call recording: Google’s Pixel phones do not include built-in call recording in all regions due to legal compliance decisions — Google has removed or restricted the feature in markets with all-party consent laws. OnePlus similarly does not include native call recording in all regions.
iPhone (iOS 18+): Apple introduced a native call recording feature in iOS 18, but as of its initial release, it was limited to the iPhone 15 Pro series. Earlier iPhone models running iOS 18 may not have access to this feature.
How to Record a Call Using the Built-In Android Recorder
The specific menu layout varies slightly by manufacturer, but the general process is consistent:
During an active call:
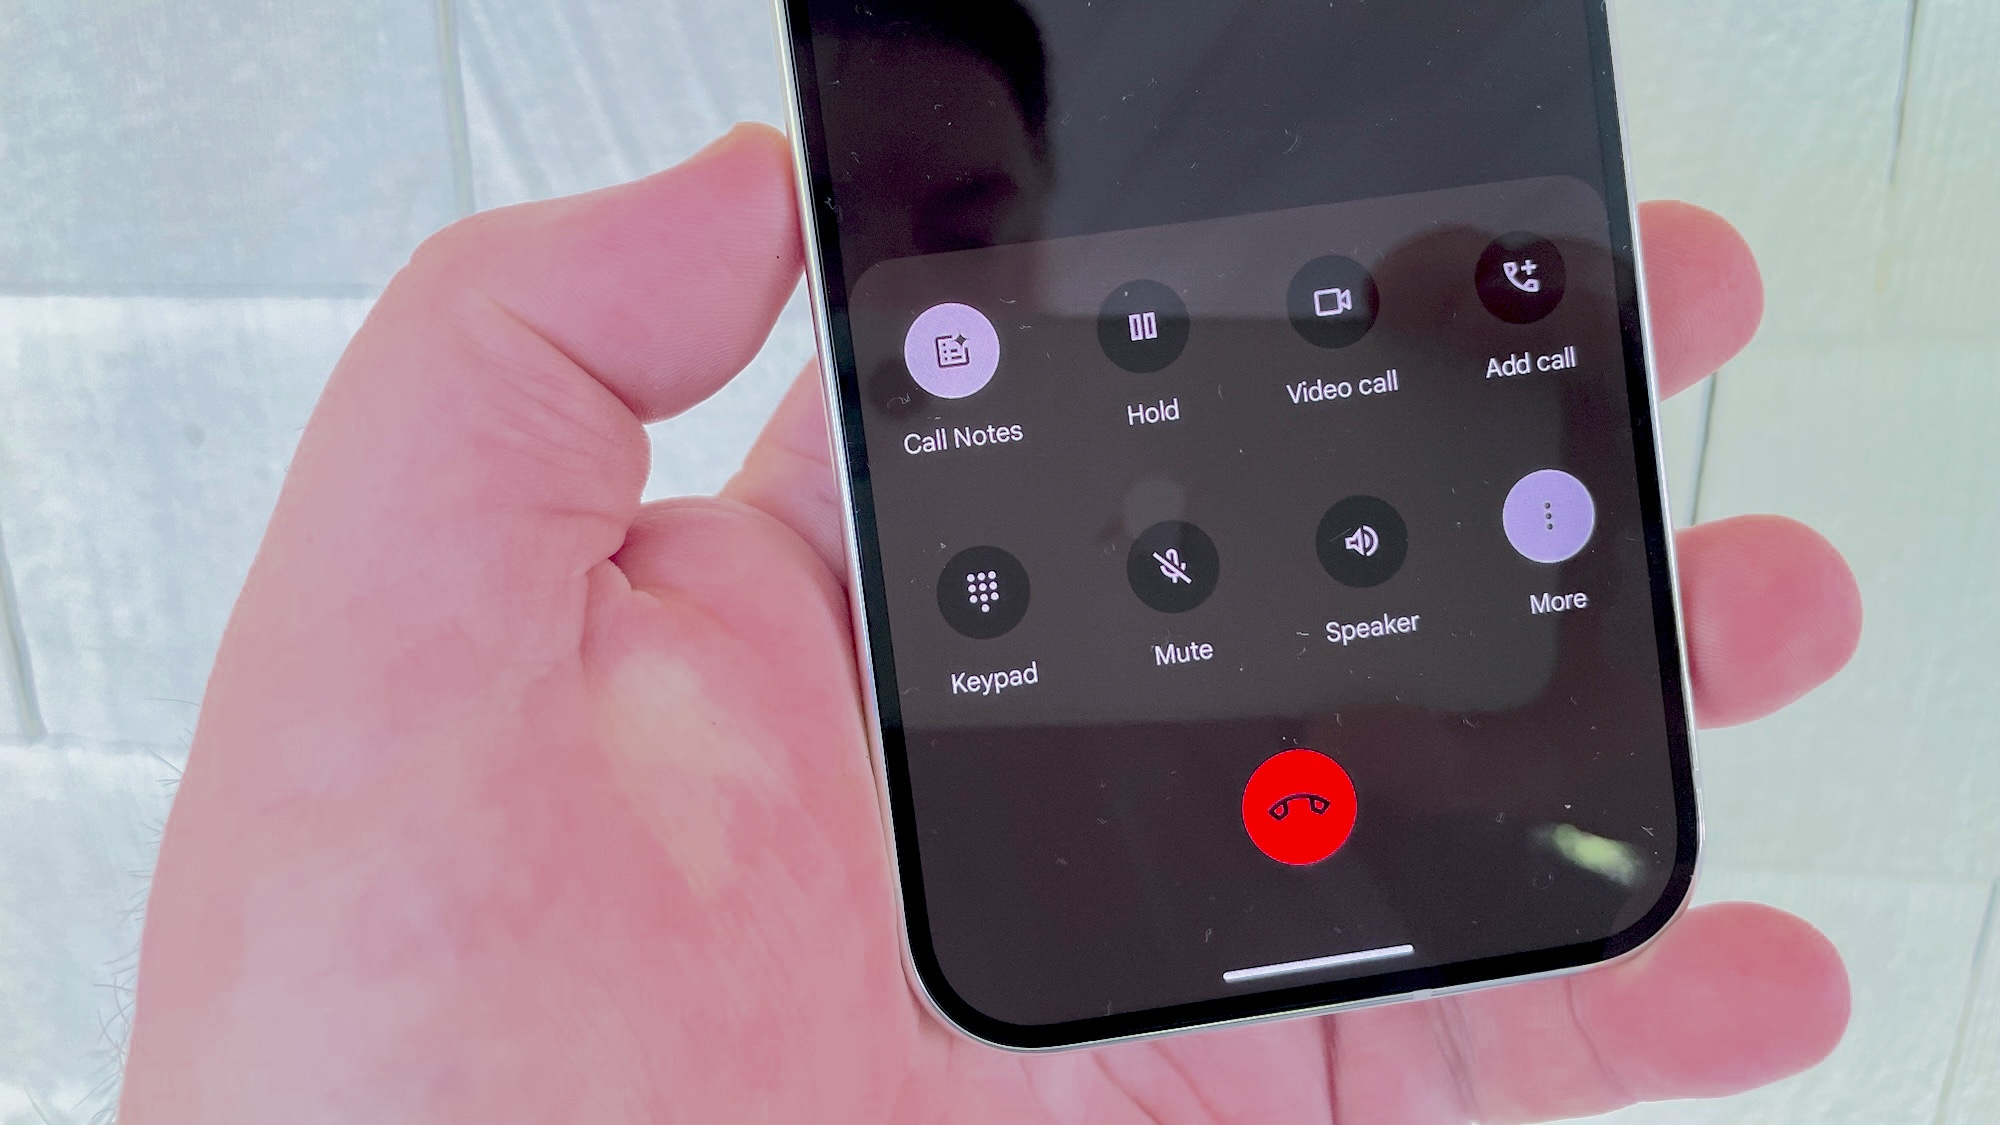
Step 1: When on a call, look at your active call screen. Depending on your device, you’ll see either a dedicated “Record” button on the main call screen, or you may need to tap the three-dot menu (⋮) or a secondary screen to find the recording option.
Step 2: Tap “Record” to begin recording. On most devices, a recording indicator (a small icon or timer) appears on the call screen to confirm recording is active.
Step 3: Continue your call normally. The recording runs in the background.
Step 4: To stop recording, tap “Stop Recording” from the same menu where you started it, or end the call — most built-in recorders automatically stop and save when the call ends.
Step 5: Access your recordings through the Phone app: navigate to Recents, find the call you recorded, and tap on it. A playback option should appear alongside the call details.
Setting Up Automatic Recording
For users who regularly need call recordings — business owners, legal professionals, journalists — setting up automatic recording removes the need to remember to tap record every time.
On most Android devices:
Step 1: Open the Phone app.
Step 2: Tap the three-dot menu (⋮) and select “Settings.”
Step 3: Find “Call Recording” or “Record Calls” in the settings menu.
Step 4: Configure the auto-recording options:
- “Always Record” — records every call regardless of who’s calling
- “Always Record Unknown Numbers” — records any number not saved in your contacts
- “Always Record Selected Contacts” — records calls from specific contacts you choose
Step 5: Save your settings. From this point, the configured calls will be recorded automatically.
Where Recordings Are Stored
The storage location varies by manufacturer:
| Device | Typical Folder Path |
|---|---|
| Samsung | Internal Storage → Recordings → Call |
| Xiaomi/Redmi | Internal Storage → MIUI → sound_recorder → call_rec |
| OPPO/Realme | Internal Storage → CallRecordings |
| Motorola | Accessible through Phone app → Recents |
| Huawei | Files → Internal Storage → Sounds |
If you’re not sure where recordings are stored on your specific device, use your file manager’s search function and search for “recording” or “call” — the results will lead you to the folder.
The Audio Quality Advantage
Built-in call recorders capture audio directly from the phone’s call processing system, which means both sides of the conversation are recorded at the same quality level, without the ambient noise pickup that comes from recording via microphone. This produces noticeably cleaner audio than any external recording method and is the primary reason to use the built-in option when it’s available.
Method 2: Record Using a Second Device
When and Why to Use This Method
The second-device approach is the most universally available recording method — it works on any phone, any operating system, and requires no app installation on your primary device. It’s particularly valuable for iPhone users who don’t have access to native call recording and are hesitant to use third-party apps.
The trade-off is audio quality. Recording through a microphone picking up audio from a speaker introduces ambient noise and distance-related degradation that the built-in recorder avoids. In a quiet room, the quality is generally sufficient for most purposes; in a noisy environment, it can be difficult to understand.
Using Apple’s Voice Memos App (iOS Example)
What you need:
- Your primary phone (the one making/receiving the call)
- A second device — another smartphone, tablet, or any device with a recording app
Step 1: On the second device, open the Voice Memos app (iPhone) or your device’s default voice recorder app. If the device doesn’t have one, free options like Otter.ai (which also transcribes audio) are available.
Step 2: Tap the red record button to begin a new voice recording. Confirm the recording is active — you’ll see a waveform or timer indicating audio is being captured.
Step 3: Do a brief test before the important call: place the second device near the primary phone’s speaker and speak — verify in the recording that both positions (your voice and audio from the speaker) are being captured adequately. Adjust the second device’s position until you get the best coverage.
Step 4: On your primary phone, make or answer the call you want to record.
Step 5: Immediately switch the primary phone to speaker mode — this is essential. Without speaker mode, the second device’s microphone can only pick up one side of the conversation (your voice). Speaker mode lets both sides of the call audio reach the second device’s microphone.
Step 6: Position the second device close to your primary phone’s speaker. In a quiet room, 6–12 inches is typically sufficient. In a noisier environment, get the devices closer together.
Step 7: When the call ends, tap “Done” (Voice Memos) or the stop recording button on the second device.
Step 8: The recording is saved in the Voice Memos library (or equivalent). You can share it via AirDrop, email, iMessage, or any file-sharing method supported by the device.
Tips for Maximizing Audio Quality With This Method
Choose a quiet location. Background noise is the enemy of second-device recording. Find the quietest space available for calls you plan to record this way.
Use an external microphone on the second device. Connecting a lavalier microphone to the second device and positioning it between the two phones improves capture of both sides significantly compared to relying on the built-in microphone.
Test before the real call. Don’t assume the setup works — test it with a practice call first so you know what positioning works and what the resulting audio quality sounds like.
Consider the recording app. Some recording apps are better than others at capturing audio clearly. If Voice Memos produces unsatisfactory quality, try a dedicated recording app designed for higher-quality audio capture.
Method 3: Record Incoming Calls Free with Google Voice
What Google Voice Is and What It Offers
Google Voice is a free telephony service from Google that provides a virtual US phone number, allowing you to make and receive calls and texts through that number on any device. One of Google Voice’s standout features is its built-in incoming call recording — a legitimate, high-quality recording option that doesn’t require any third-party apps.
The recording feature is accessible on both Android and iPhone through the Google Voice app, and it produces recordings stored directly in your Google Voice account — accessible from any device, automatically backed up, and easy to share.
The important caveat: Google Voice call recording works only for incoming calls to your Google Voice number. You cannot use this feature to record calls you initiate. If you need to record outgoing calls, you’ll need a different method.
Geographic availability: Google Voice is primarily available in the United States. Users in other countries may find limited or no access to the service. Check Google Voice’s availability page for current regional information.
Step-by-Step: Recording Incoming Calls With Google Voice
Step 1: If you don’t have a Google Voice account, set one up at voice.google.com. You’ll be assigned a free US phone number. The basic service is free for personal use.
Step 2: Download the Google Voice app on your Android or iPhone from the Google Play Store or Apple App Store.
Step 3: Open the app and tap the three-line menu (☰) in the top-left corner. Select “Settings.”
Step 4: In Settings, find and enable “Incoming call options.” This is the toggle that activates the ability to record calls — it must be on for recording to work.
Step 5: When you receive an incoming call to your Google Voice number, answer it through the Google Voice app.
Step 6: During the call, press 4 on the dial pad. You’ll hear a brief audio prompt confirming that recording has started.
Step 7: An automated announcement will play to all parties on the call: “This call is now being recorded.” This announcement is mandatory — Google Voice does not allow silent recording. The announcement runs automatically every time you enable recording during a call.
Step 8: Press 4 again to stop recording at any point, or end the call — recording stops automatically when the call ends.
Accessing and Managing Your Recordings
In the Google Voice app: Navigate to the “Calls” tab. Recorded calls are marked with a small recording icon next to the call entry. Tap the icon to play the recording.
By email: If you have email notifications enabled in Google Voice settings, recordings are automatically sent to your Google account as audio file attachments after each recorded call.
Through Google Voice on web: Log in at voice.google.com on any browser, navigate to “Calls,” and access recordings from there. This web access makes it easy to download recordings for archiving or sharing.
Why the Mandatory Announcement Is Actually an Advantage
The automatic recording announcement that Google Voice plays to all parties is frequently cited as a limitation — particularly by people who want to record without the other person knowing. But consider the other perspective: for users who need to be legally compliant (especially those calling people in all-party consent states), the announcement handles legal disclosure automatically, without requiring you to script and deliver that disclosure yourself. It’s built-in compliance.
If you’re recording calls for business documentation, legal purposes, or professional note-taking, the announcement is a feature, not a bug — it timestamps and confirms consent automatically for every recording you make.
Method 4: Hardware Recording Devices
When Hardware Solutions Are Worth Considering
For most people, software-based recording (built-in features, apps, Google Voice) is entirely sufficient. Hardware solutions become relevant in specific professional contexts:
- Journalists and researchers who require archival-quality audio for transcription
- Legal professionals who need recordings that meet evidence standards
- Podcasters and content creators who record calls for broadcast or publication
- Business professionals who conduct high-stakes calls where clarity is non-negotiable
Hardware devices eliminate the ambient noise problems of second-device recording, often produce better audio quality than phone-based apps, and function independently of any software limitations on the primary phone.
Option 1: Dedicated Call Recording Recorders (Zoom H5)
The Zoom H5 Handy Recorder is a professional-grade audio recorder that can be connected directly to a phone’s headphone jack (with appropriate adapters) to capture both sides of a call at high fidelity. It records both the earpiece audio and the microphone audio in separate channels, producing clean, separated stereo recordings that are professional-grade for transcription or broadcast.
Specifications relevant to call recording:
- Records WAV files up to 24-bit/96kHz (broadcast quality)
- SD card storage (standard cards up to 32GB)
- Battery-powered — no outlet required
- Compatible with a wide range of phones through appropriate adapter cables
Price range: Approximately $270–$300 (available through audio equipment retailers and B&H Photo)
Setup: Connect the Zoom H5 to your phone’s headphone jack using a TRRS (4-pole) to dual XLR or 3.5mm adapter. This requires the phone to have a headphone jack — for phones without one, a USB-C or Lightning to headphone jack adapter is the first step in the chain. Set the Zoom to record from the connected input, begin recording, and then make your call.
Option 2: Bluetooth Headsets with Built-In Recording
Dedicated recording Bluetooth headsets like the RecorderGear PR200 are designed specifically for call recording convenience. They pair with your phone via Bluetooth and include a physical button that initiates recording directly on the headset — no in-app interaction required.
RecorderGear PR200:
- Activates recording with a single button press on the headset during a call
- Records to built-in storage (no phone involvement required)
- Hands-free operation during recording
- Audio quality is good but varies by environment — wireless transmission introduces some variability
Price range: Approximately $100–$120
For users who make frequent calls and want a consistently accessible recording option without navigating phone menus during a call, a dedicated recording headset offers genuine convenience.
Option 3: External Microphones and Portable Recorders
For a middle ground between professional recorders and improvised second-device recording, a portable voice recorder with an external microphone provides substantially better quality than the ambient-capture approach at a fraction of the professional hardware cost.
Recommended options in this category:
- Sony PCM-M10: A portable digital recorder with good microphone sensitivity
- Olympus WS-853: Budget-friendly with good recording quality for voice
- Lavalier microphones: Small clip-on microphones that connect to a smartphone or recorder, positioned close to the call’s audio source
Typical price range: $20–$80 depending on the model and microphone quality
Setup approach: Place the portable recorder near the phone’s speaker during a speakerphone call, or use a lavalier mic positioned between the two devices. The closer the microphone is to the audio source, the cleaner the capture.
Method 5: Third-Party Call Recording Apps
The Current Landscape of Third-Party Call Recording Apps
Third-party call recording apps exist in a complicated ecosystem. Google has progressively restricted the API access that Android apps can use to capture call audio — particularly changes introduced in Android 10 and further tightened since then. As a result, many apps that previously worked have stopped functioning reliably, and the category has narrowed considerably to apps that found compliant technical approaches.
For iOS, Apple’s restrictions on app access to call audio are even more stringent — third-party apps generally cannot record standard cellular calls on iPhone without device jailbreaking, which creates additional security risks. iPhone users are better served by Google Voice (Method 3) or the second-device approach (Method 2) than by most third-party app options.
Cube ACR (Cube Call Recorder): The Most Versatile Option
Cube ACR is widely considered the most capable third-party call recording app for Android, for a specific reason that distinguishes it from most competitors: it records not just standard cellular calls but also VoIP calls from apps including WhatsApp, Skype, Facebook Messenger, Viber, and other internet-based calling platforms.
For users who communicate frequently through these apps, Cube ACR is the only solution in this guide that addresses those communication channels — phone company records don’t capture VoIP calls, and built-in Android recorders only handle cellular calls.
Key features:
- Standard cellular call recording on compatible Android devices
- VoIP call recording from WhatsApp, Skype, Viber, Zoom, and other supported apps
- Automatic and manual recording modes
- Contact-based exclusion lists (set specific contacts whose calls won’t be recorded)
- Searchable recording library organized by contact and date
- Cloud storage integration (premium tier)
Pricing: Free tier available with ads; premium plans starting at approximately $12 for 6 months
Compatibility caveat: Performance depends on your specific Android version and device manufacturer. As Android APIs continue to evolve, compatibility can change between app updates. Check recent user reviews in the Google Play Store for current compatibility information before installing.
How to Use Cube ACR
Step 1: Download Cube ACR from the Google Play Store on your Android device.
Step 2: Open the app and grant the required permissions: phone, microphone, storage, and contacts access. The app needs these permissions to function — declining any of them will limit or prevent recording capability.
Step 3: Configure your preferred recording mode:
- Automatic — records all calls without requiring any action during the call
- Manual — requires you to tap a record button when you want to capture a specific call
Step 4: For VoIP recording (WhatsApp, etc.), enable the specific app integration within Cube ACR’s settings. The app will walk you through enabling accessibility service access, which is what allows it to capture audio from third-party calling apps.
Step 5: Make or receive a call. If set to automatic mode, recording begins without any action on your part. If set to manual, open the Cube ACR floating button that appears during calls and tap record.
Step 6: After the call, access your recordings in the Cube ACR app’s main library. Recordings are organized by contact and searchable by date.
Alternative Third-Party Options
Automatic Call Recorder Pro (ACR): Available on Google Play, one of the longest-maintained call recording apps on Android. Offers automatic recording, multiple file formats, password protection, and email sharing. More limited VoIP support than Cube ACR but strong for standard cellular recording.
Rev Call Recorder: Available on iPhone through the App Store — one of the few legitimate options for iPhone call recording. Works by placing a three-way call that merges your call with Rev’s recording service. Free to use; recordings can be professionally transcribed through Rev’s transcription service (paid separately). Suitable for interviews, important meetings, or any call where professional transcription might be needed.
Method Comparison: Choosing the Right Approach
| Method | Platform | Audio Quality | Setup Complexity | Cost | Records Outgoing? | Consent Disclosure |
|---|---|---|---|---|---|---|
| Built-In Recorder (Android) | Android (most) | Excellent | Very Low | Free | Yes | Varies by region |
| Second Device + Voice Memos | Any | Moderate | Low | Free | Yes | Manual |
| Google Voice | Android + iPhone (US) | Good | Low | Free | Incoming only | Automatic |
| Hardware Recorder | Any | Excellent | Medium-High | $20–$300 | Yes | Manual |
| Cube ACR (Third-Party App) | Android | Good | Medium | Free / $12+ | Yes (cellular + VoIP) | None built-in |
Best Practices for Professional Call Recording
Regardless of which method you use, these practices apply universally.
Test Your Setup Before the Real Call
Don’t discover that your recording failed on an important call. Before any call you genuinely need to capture, run a test: call a friend or your own voicemail, use your intended recording method, and then play back the result. Confirm that both sides of the conversation are audible, that audio quality is acceptable, and that the recording is saving to the expected location.
A test run takes five minutes and prevents the common disaster of realizing after the call that the recording didn’t work or captured only one side.
Choose Your Recording Environment
Background noise is the most common cause of poor-quality recordings from every method except built-in recording (which captures digital audio directly). Before a call you plan to record:
- Find a quiet room with minimal ambient noise
- Close windows if there’s traffic noise outside
- Turn off TVs, radios, or other audio sources in the room
- If using a second device, move away from HVAC vents or fans
Even with built-in recording (which isn’t affected by ambient noise), a quiet environment helps you concentrate on the conversation itself.
Organize Your Recordings Consistently
If you record calls regularly — for business, legal, or professional purposes — a consistent organizational system prevents recordings from becoming an unsearchable archive.
Naming conventions: Use a format that includes the date, the other party’s name or company, and the general topic. For example: 2024-03-15_JohnSmith_ContractDiscussion.m4a
Storage structure: Create a logical folder hierarchy — by year, then by client or project. Keep business recordings separate from personal ones.
Cloud backup: Don’t let recordings exist only on the device. Back them up to Google Drive, iCloud, Dropbox, or another reliable cloud storage. A device failure shouldn’t mean losing months of important recordings.
Access controls: For sensitive recordings — legal discussions, confidential business conversations — use encrypted storage or password-protected cloud folders to prevent unauthorized access.
For Parents: Monitoring Your Child’s Phone Audio Environment
Beyond recording your own calls, there’s a distinct context where audio monitoring is valuable: parents concerned about what’s happening in their child’s phone environment — not just what’s being said on calls, but what ambient sounds and conversations are occurring around the device when the child is away from home.
Why Parents Need Audio Awareness, Not Just Call Records
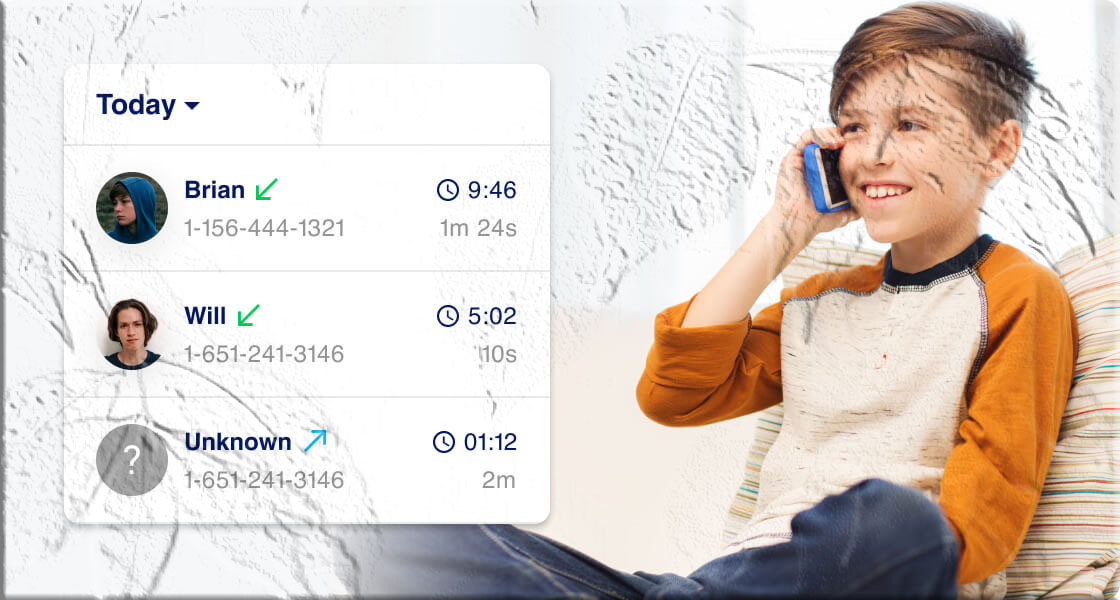
Call records from a carrier tell you who called and when. They don’t tell you what was said, who was present during a call, or what’s happening in the environment when the child isn’t on a call at all. For parents with younger children or teenagers navigating situations they haven’t fully disclosed, the ability to understand the ambient environment of the child’s device provides a level of safety awareness that call logs alone can’t offer.
MyParental Parental Control: Remote Audio Monitoring for Family Safety
.MyParental Parental Control includes a One-Way Audio feature that allows parents to listen to the ambient sound environment around a child’s Android device in real time. This is distinct from recording a phone call — it captures what’s happening in the room around the phone, which provides environmental context rather than conversation documentation.
How it works: Once the MyParental Kids companion app is installed on the child’s Android device and paired with the parent’s MyParental app, the parent can activate the One-Way Audio feature from their dashboard. The child’s phone microphone captures ambient audio and streams it to the parent’s device in real time — similar to a one-way intercom.
What this is useful for:
- Confirming that a child is where they said they’d be (background audio provides environmental clues)
- Understanding whether a child appears to be in a safe or distressing situation when they aren’t answering calls
- Being aware of unusual activity patterns around the child’s phone during late-night hours
Additional features relevant to call and communication monitoring:
Notification mirroring — Receive copies of notifications arriving on the child’s device, including call notifications, which surfaces patterns of incoming contact.
Screen mirroring — View the child’s device screen in real time, which includes active call interfaces and messaging apps.
App usage tracking — Understand which calling and messaging apps the child is using and for how long, giving context for communication patterns that might not be visible through carrier records alone.
Location tracking — Know where the child’s device is physically located, providing real-world context for audio and communication monitoring.
Setting Up MyParental:
Step 1: Download MyParental Parental Control on the parent’s device at https://myparental.app/download-myparental-parental-control/. Create a parent account.
Step 2: On the child’s Android device, download the MyParental Kids companion app. Install it with the child’s knowledge — have a conversation about what the app monitors and why. Transparent setup is both more ethical and more practically effective than covert installation.
Step 3: Link the devices using the pairing code generated in the parent app.
Step 4: In the parent dashboard, navigate to the One-Way Audio feature and activate it when you need ambient awareness. Configure notification mirroring and other monitoring features to the level appropriate for your child’s age and your specific safety concerns.
For guidance on age-appropriate digital monitoring conversations with children, the American Academy of Pediatrics’ digital media resources provide evidence-based frameworks for parents at different stages.
Frequently Asked Questions
Is it illegal to record a phone call without telling the other person?
It depends entirely on your jurisdiction. In the United States, federal law and most states require only one-party consent — meaning you can record a conversation you’re participating in without telling the other person. However, approximately 11 states require all-party consent, meaning everyone on the call must be informed. If you’re in or calling someone in California, Florida, Illinois, Maryland, Massachusetts, Pennsylvania, or Washington (among others), all-party consent is required. Internationally, most countries require all-party consent or have specific legal frameworks governing recording. The safest universal practice is to inform all parties.
Why doesn’t my Android phone have a call recording option?
Several reasons: your region may have legal restrictions that caused the manufacturer to disable the feature (Google specifically removes native recording from Pixel phones in all-party consent markets), your phone model may not include it despite other models from the same manufacturer having it, or your version of the Android system might not include this feature. Try checking under Phone app → Settings → Call Recording. If the option doesn’t appear, your device or region doesn’t support native recording. Use Google Voice, the second-device method, or a third-party app as alternatives.
Can I record a WhatsApp call?
Standard call recording methods (carrier-based built-in recorders) don’t capture WhatsApp calls because they route through the internet rather than the cellular network. The most reliable methods for recording WhatsApp calls are: Cube ACR (on Android, using accessibility service integration for VoIP recording), the second-device approach (placing a recording device near the phone in speaker mode during a WhatsApp call), or a hardware recorder connected to the phone. On iPhone, the second-device method is typically the most reliable option.
Where do call recordings save on Android?
The location varies by manufacturer. Samsung saves to Internal Storage → Recordings → Call. Xiaomi saves to Internal Storage → MIUI → sound_recorder → call_rec. Google Voice recordings save to your Google Voice account (accessible from any device through the app or web interface). Third-party apps like Cube ACR maintain their own in-app libraries but also save audio files to a designated folder in internal storage. Use your phone’s file manager and search for “recording” if you’re unsure of your specific device’s path.
Does Google Voice call recording work on iPhone?
Yes — Google Voice is available for iPhone through the App Store and its incoming call recording feature works on iOS as it does on Android. The same limitation applies: only incoming calls to your Google Voice number can be recorded, not outgoing calls. The setup process (enabling incoming call options in settings, pressing 4 during a call) is identical on iPhone and Android.
Will a call recording app drain my battery significantly?
It depends on the app and recording method. Built-in recording has minimal battery impact because it accesses audio data already being processed by the phone. Third-party apps running in the background can have more noticeable battery consumption, particularly if they’re continuously monitoring for calls to record automatically. Apps that use accessibility services (like Cube ACR for VoIP recording) tend to have higher background power consumption. If battery life is a concern, use the built-in recorder when available and restrict third-party recording apps to manual mode rather than always-on automatic mode.
Can I use call recordings as legal evidence?
Possibly — but the answer depends on how the recording was made, your jurisdiction’s laws around recording consent, and the specific legal context. Recordings made in compliance with applicable consent laws are generally admissible. Recordings made in violation of consent laws may be inadmissible and could expose you to legal liability for making them. For any situation where you intend to use a recording in legal proceedings, consult a qualified attorney in your jurisdiction before recording and before attempting to use existing recordings as evidence.
What’s the best call recording app for iPhone?
iPhone has fewer reliable options than Android due to iOS restrictions on accessing call audio. The most practical options are: Rev Call Recorder (free, works by creating a three-way call with Rev’s recording service, professional transcription available), Google Voice (free, incoming calls only to your Google Voice number, works well for people in the US), or the second-device approach (using another device to record via microphone). Most third-party apps claiming to record iPhone calls have significant limitations or require workarounds that may not produce reliable results.
Conclusion
Recording a phone call on mobile has never had more options — and understanding which option fits which situation is what determines whether you end up with a crystal-clear recording or a frustrating technical failure.
For most Android users, the built-in call recorder is the best starting point: zero setup, excellent audio quality, and the option to configure automatic recording for specific contacts or unknown numbers. For iPhone users or anyone without a native recording option, Google Voice handles incoming calls reliably and free of charge, with built-in legal disclosure. The second-device approach works for anyone, on any device, requiring nothing beyond a second phone or tablet.
When professional-quality audio matters — for broadcast, legal evidence, or archival purposes — dedicated hardware provides a level of reliability and fidelity that software-based methods can’t match. And for VoIP calls through WhatsApp, Skype, or other apps, Cube ACR on Android is the software solution most specifically designed for that use case.
The legal dimension remains constant across all methods: know your jurisdiction’s consent requirements, inform the other party when in doubt, and treat recordings of private conversations with the same discretion you’d want applied to your own conversations.
This article is for informational purposes only and does not constitute legal advice. Call recording laws vary by jurisdiction. Always verify the applicable laws in your location and obtain any required consent before recording any phone call.